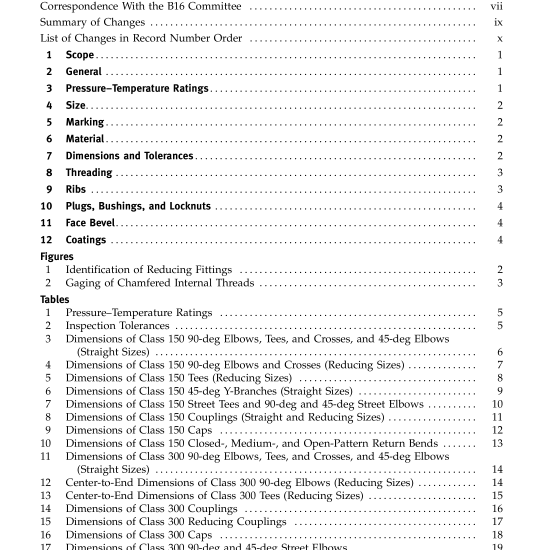
ASME B16.3:2016 pdf download Malleable Iron Threaded Fittings Classes 150 and 300
7.2.2 The transition in wall thickness from one end size to another shall be in a manner that minimizes the additionofstress caused by sudden changes in direc- tion or wall thickness.
7.2.3 Proof of design shall be verified by a hydro- static pressure test made at ambient temperature in which pressure is applied for a continuous period of no less than 1 min and at a constant minimum pressure of no less than 5 times the pressure rating of the largest size of end connection in the reducing fitting. Testing is considered successful only when no evidence of crack- ing, fracturing, or leakage is exhibited after holding for at least the minimum time at or above the required pressure.
7.3 Tolerances It is recognized that some variations are absolutely unavoidable in the making of patterns and castings. The following tolerances shall apply.
(a) Metal Thickness Tolerances. Metal thickness at no point in the castings shall be less than 90% of the value given in the tables.
(b) Center-to-End Tolerances. Permitted tolerances on the center-to-end dimensions of the fittings are shown inTables 2 and I-2. Tolerances for end-to-end dimensions and lengths of couplings and reducers shall be twice those given. The largest opening in a reducing fitting governs the tolerances to be applied to all openings. These tolerances do not apply to return bends and caps.
8 THREADING 8.1 Types of Threads All fittings shall be threaded according to ANSI/ASME B1.20.1, and shall have taper threads, except wrought couplings (Tables 8 and I-8) and wrought caps (Tables 9 and I-9) in NPS 1 ⁄ 8 , 1 ⁄ 4 , and 3 ⁄ 8 , which may have straight threads. 8.2 Tolerances Variations in taper threading shall be limited to one turn large or one turn small from the gaging face on ring and gaging notch on plug when using working gages. The variations in straight threading shall be lim- ited to one and one-half turns large or small from the gaging notch on plug when using a taper pipe thread working gage. The reference point for gaging internal fittings threads depends upon the chamfer diameter. When the internal chamfer diameter exceeds the major diameter of the internal thread, the reference point is the last thread scratch on the chamfer cone. When the internal chamfer diameter does not exceed the major diameter of the internal thread, the reference point is the end of the fitting (see Fig. 2).
